Video: App Lab - Design Mode
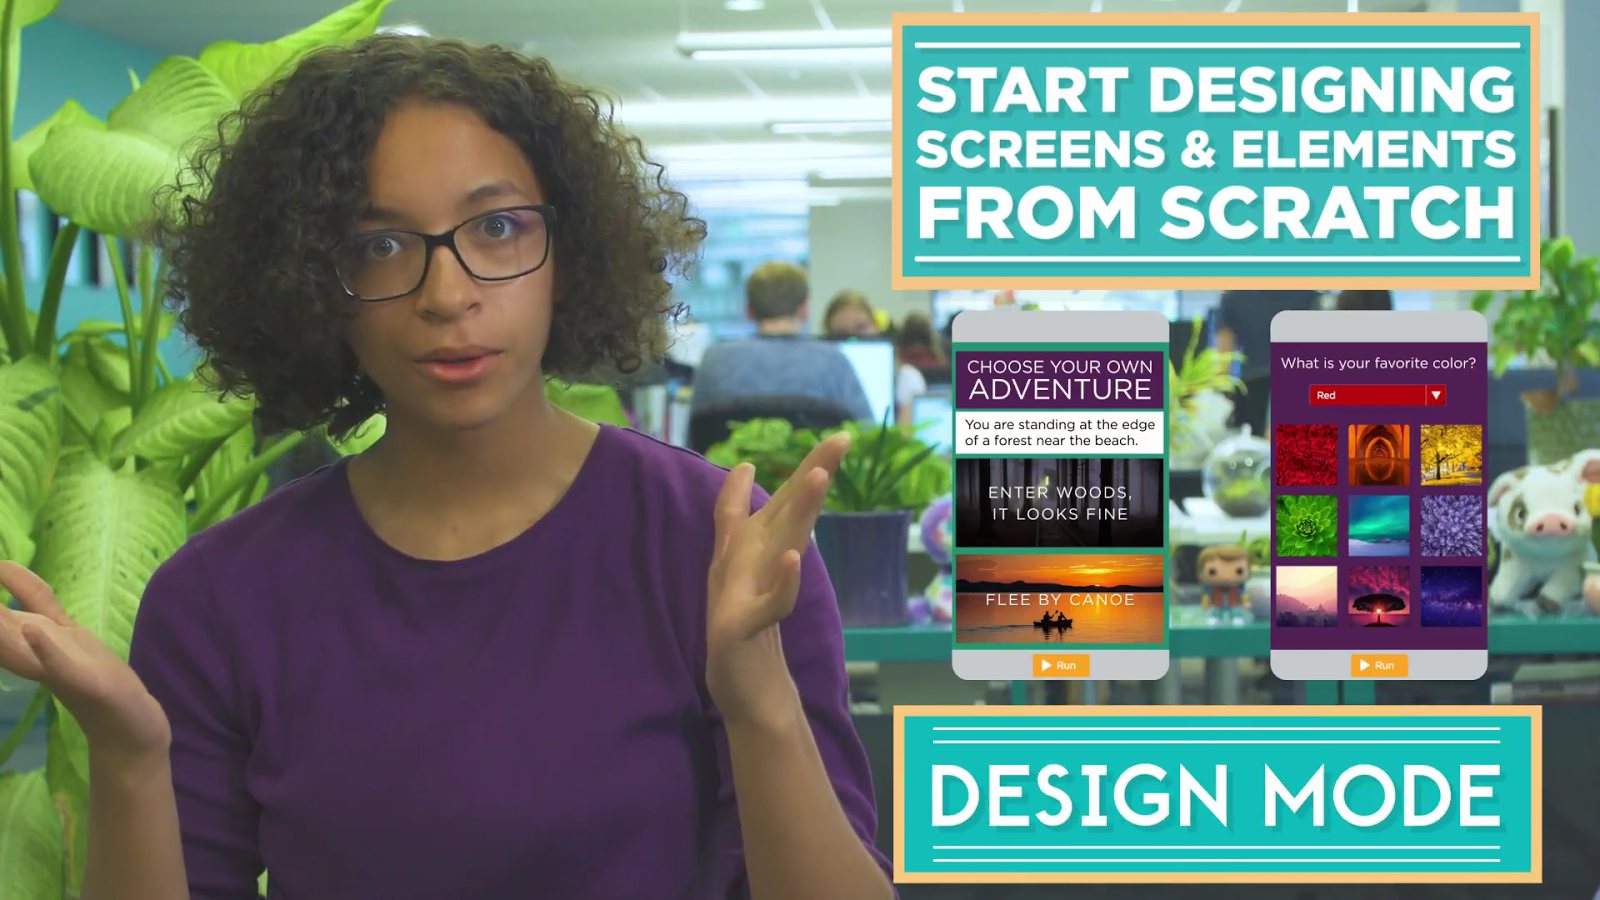
To build your own apps you're going to need to start designing screens and elements from scratch. App Lab makes this easy to do with Design Mode.
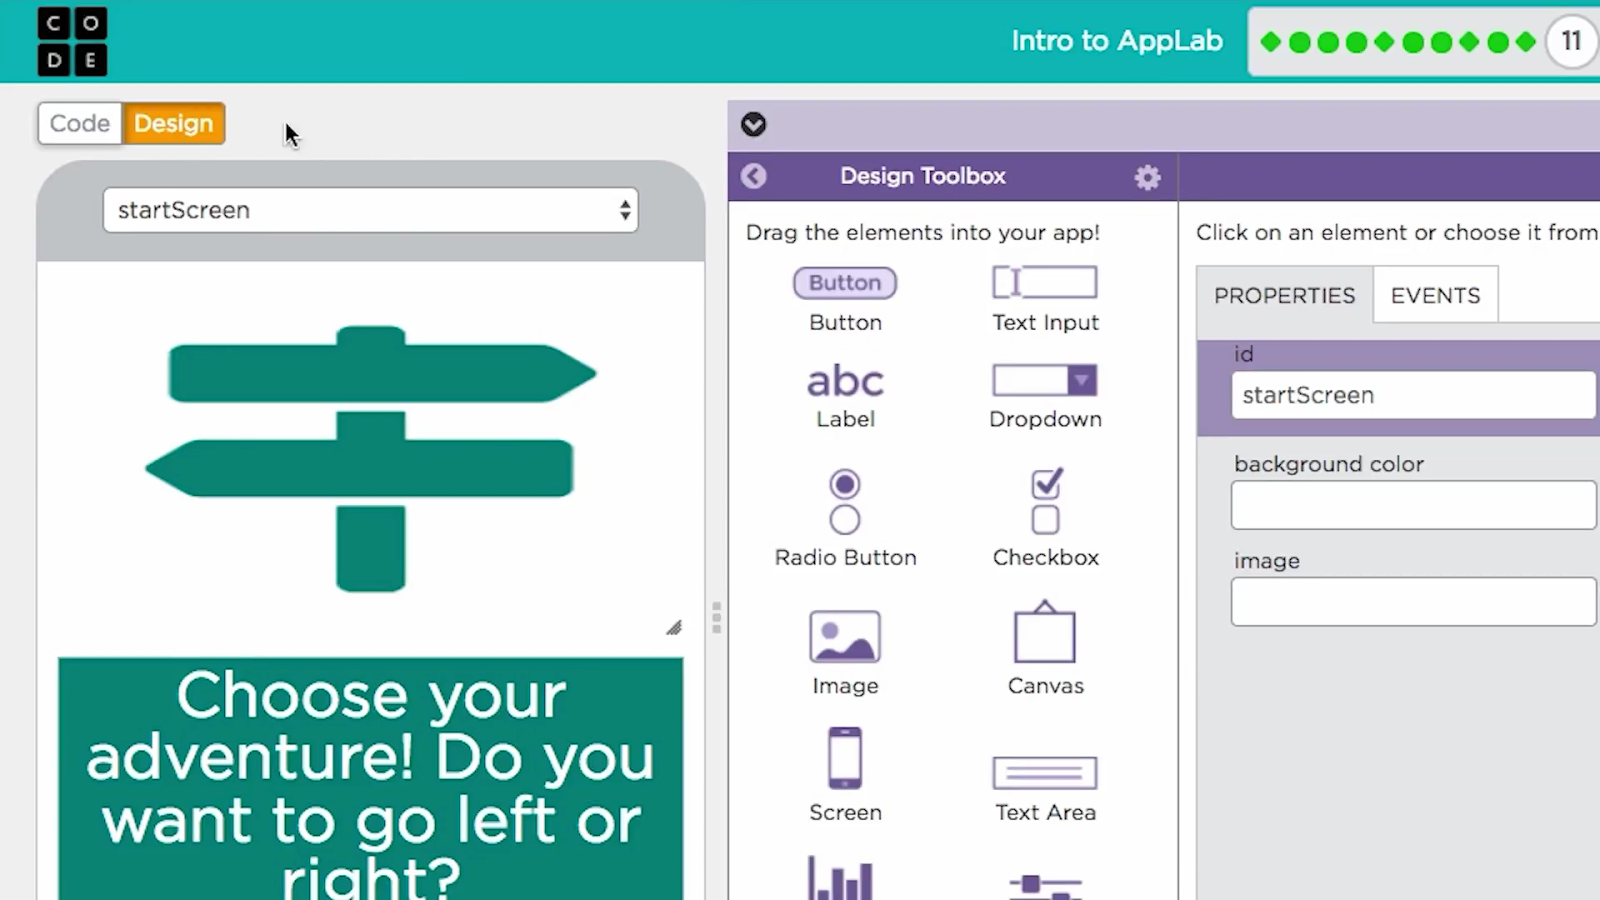
Use the switch on top of your app to go into Design Mode.
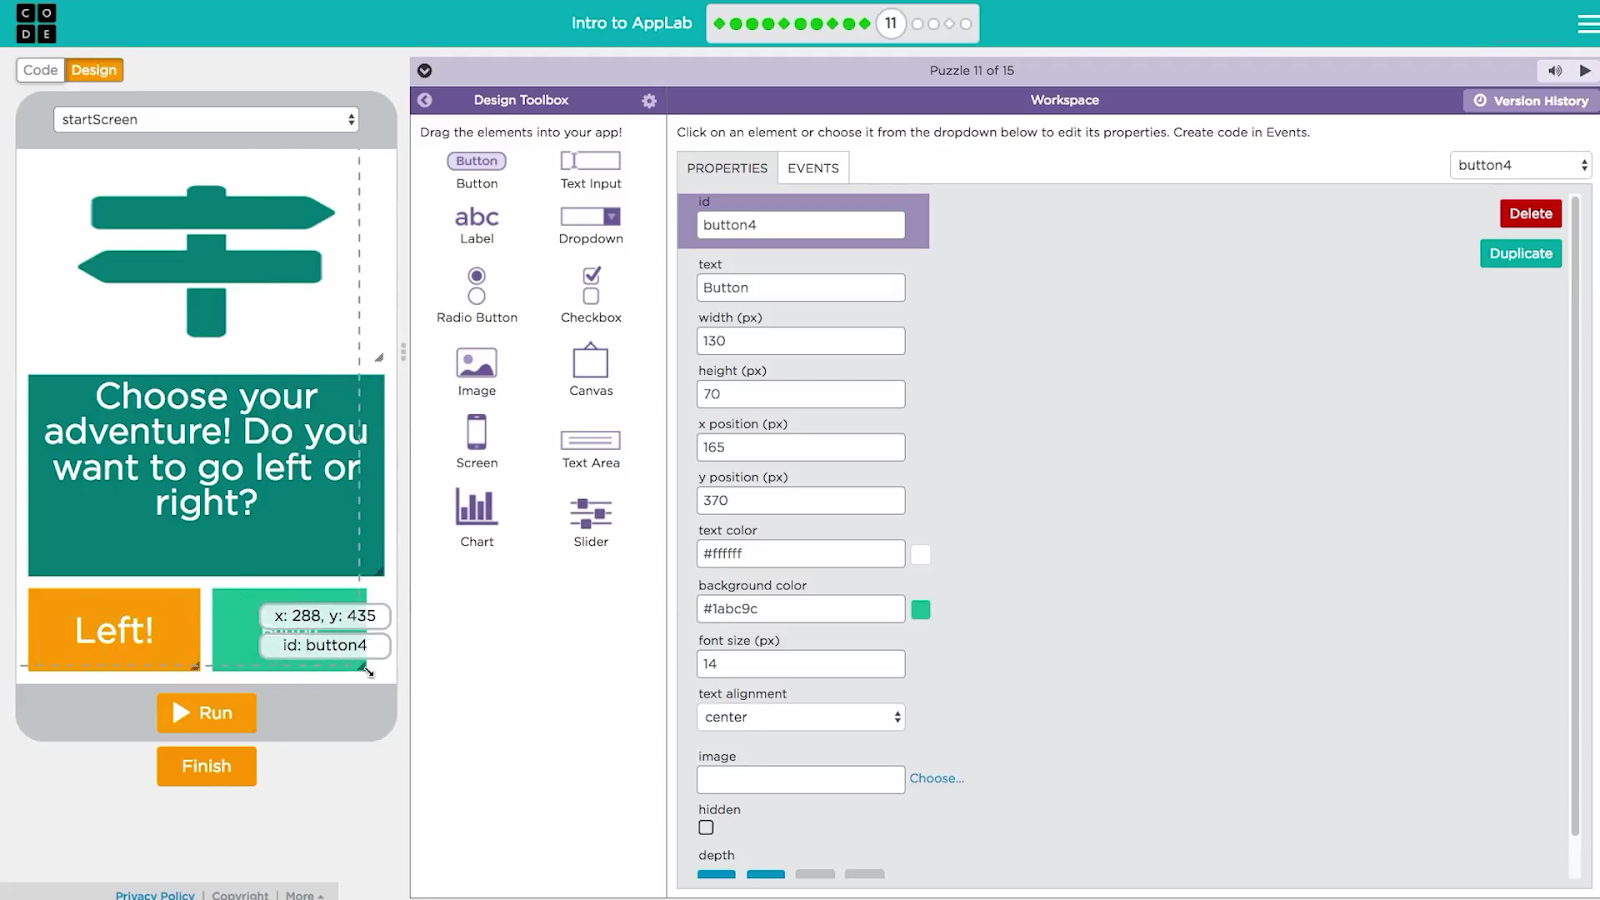
You can add new elements by dragging them onto the screen. You can move them around to different locations and change their size by dragging the bottom right corner.
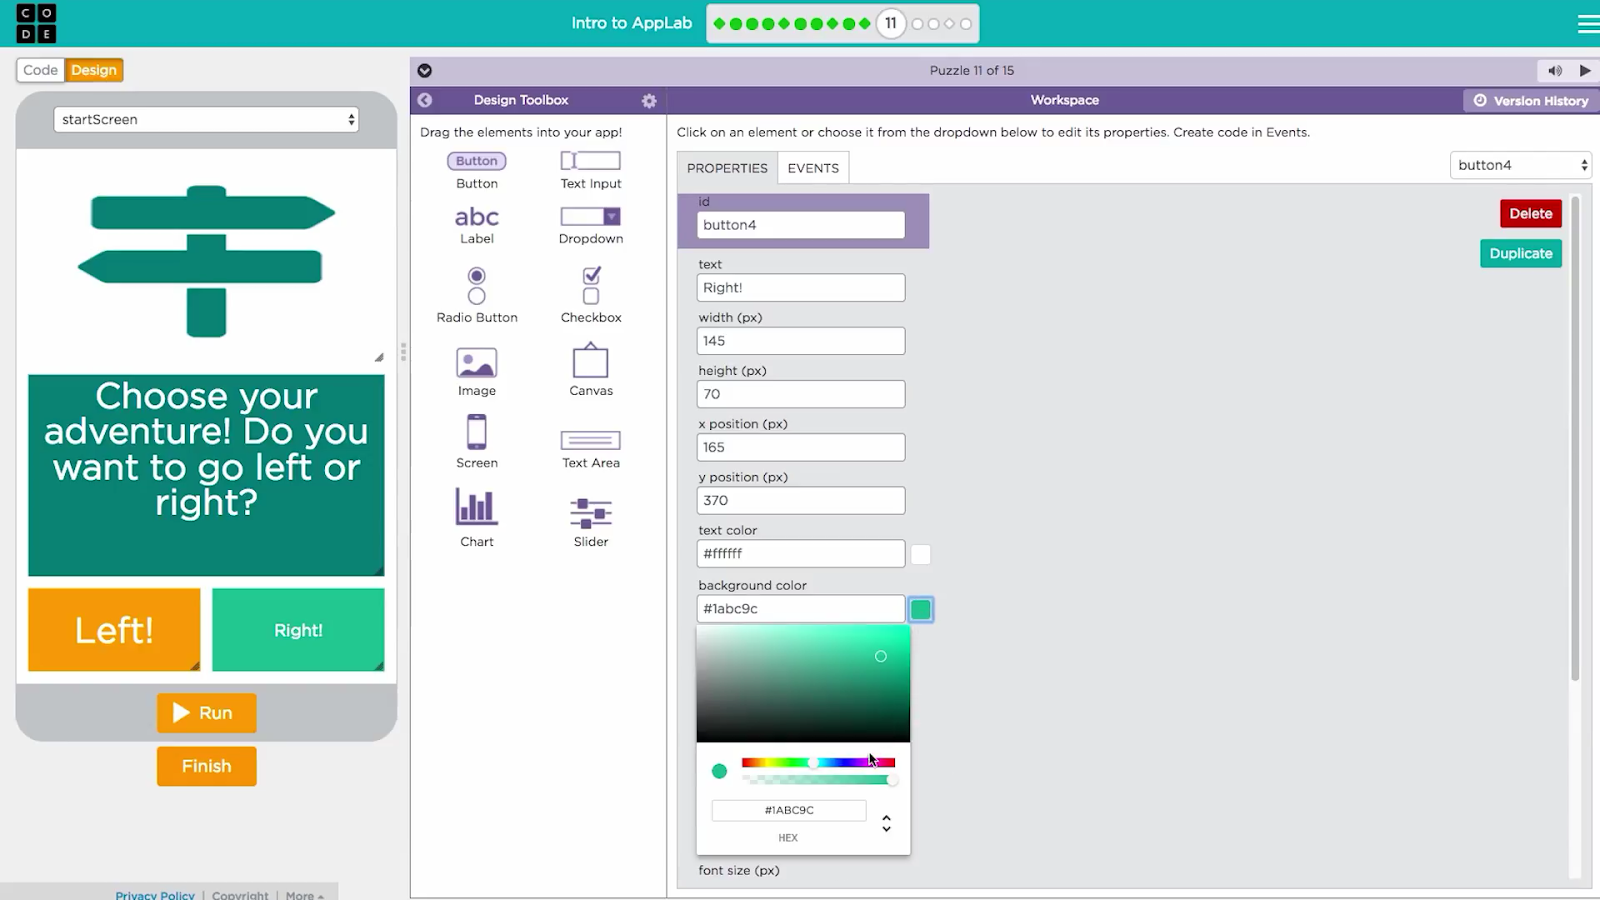
To change an element's properties use the controls on the right. For example, it's really easy to change this button's text, color, and font size.
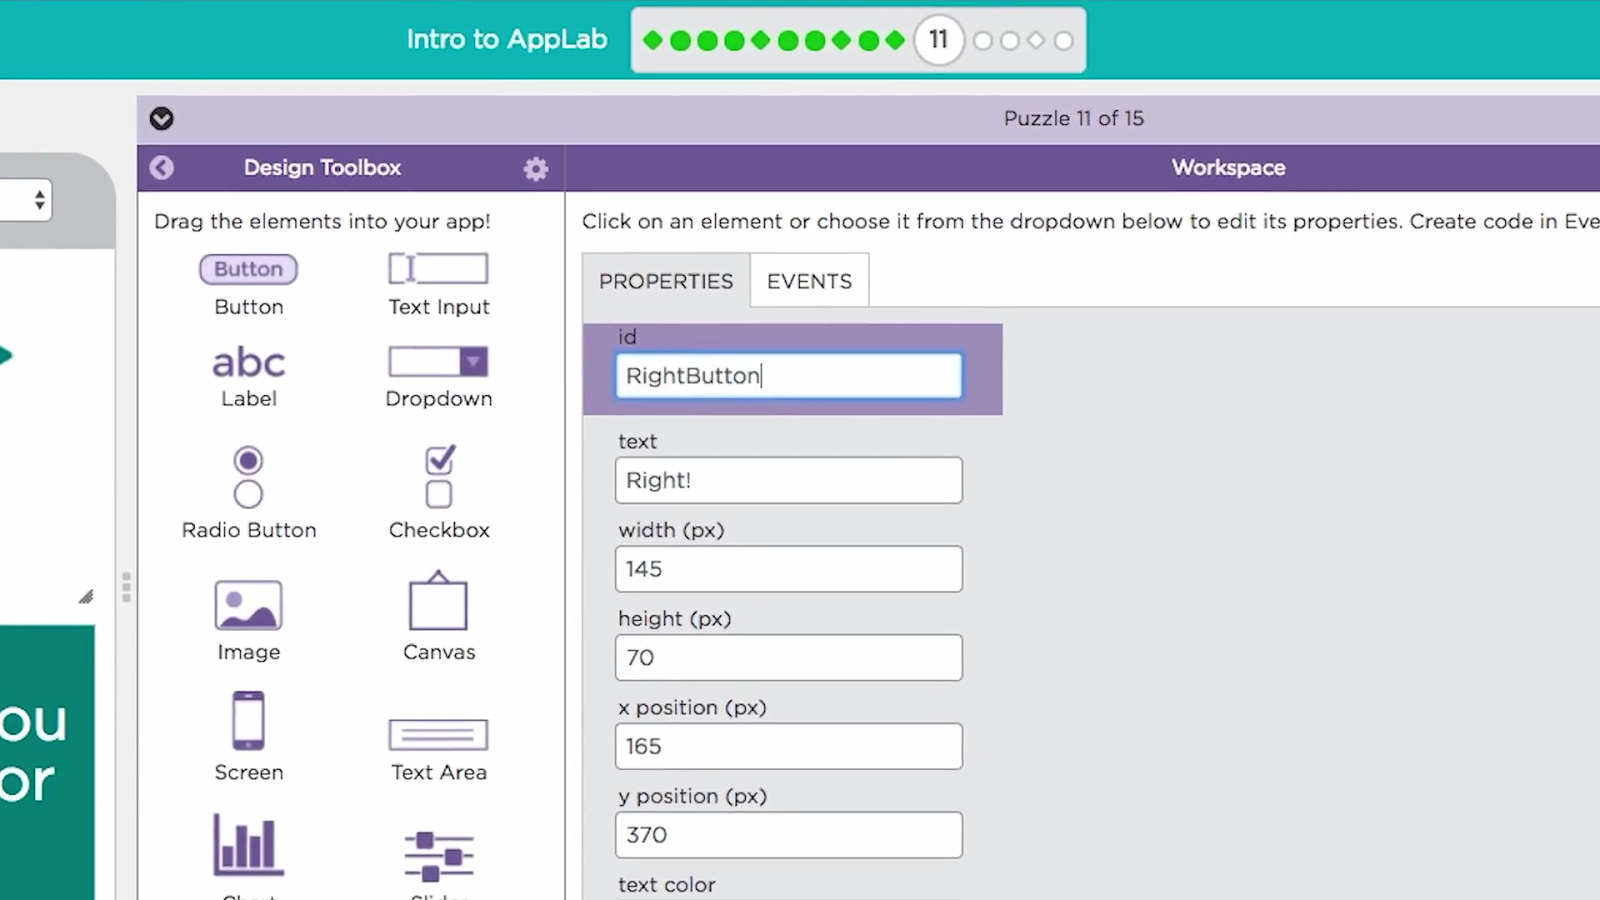
When you add a new element to your screen it'll get a generic ID like button1. It's a good idea to change this button's ID to something more meaningful like "rightButton". So that you'll know which one it is when you go to the program.
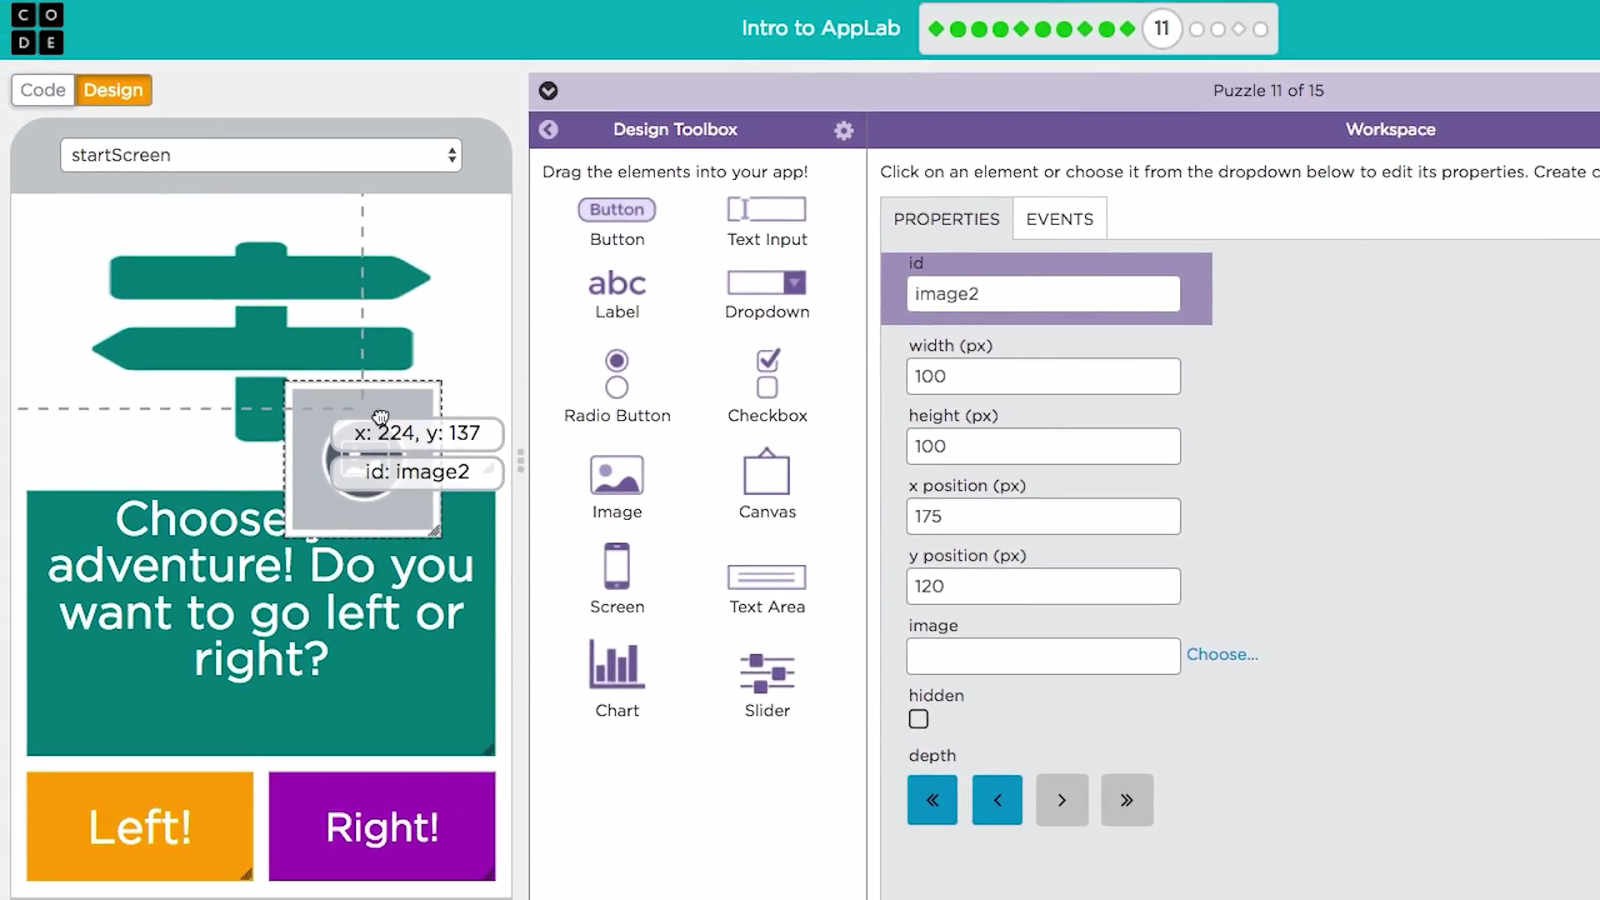
If you add an element to your app by mistake, just drag it out or hit the delete.
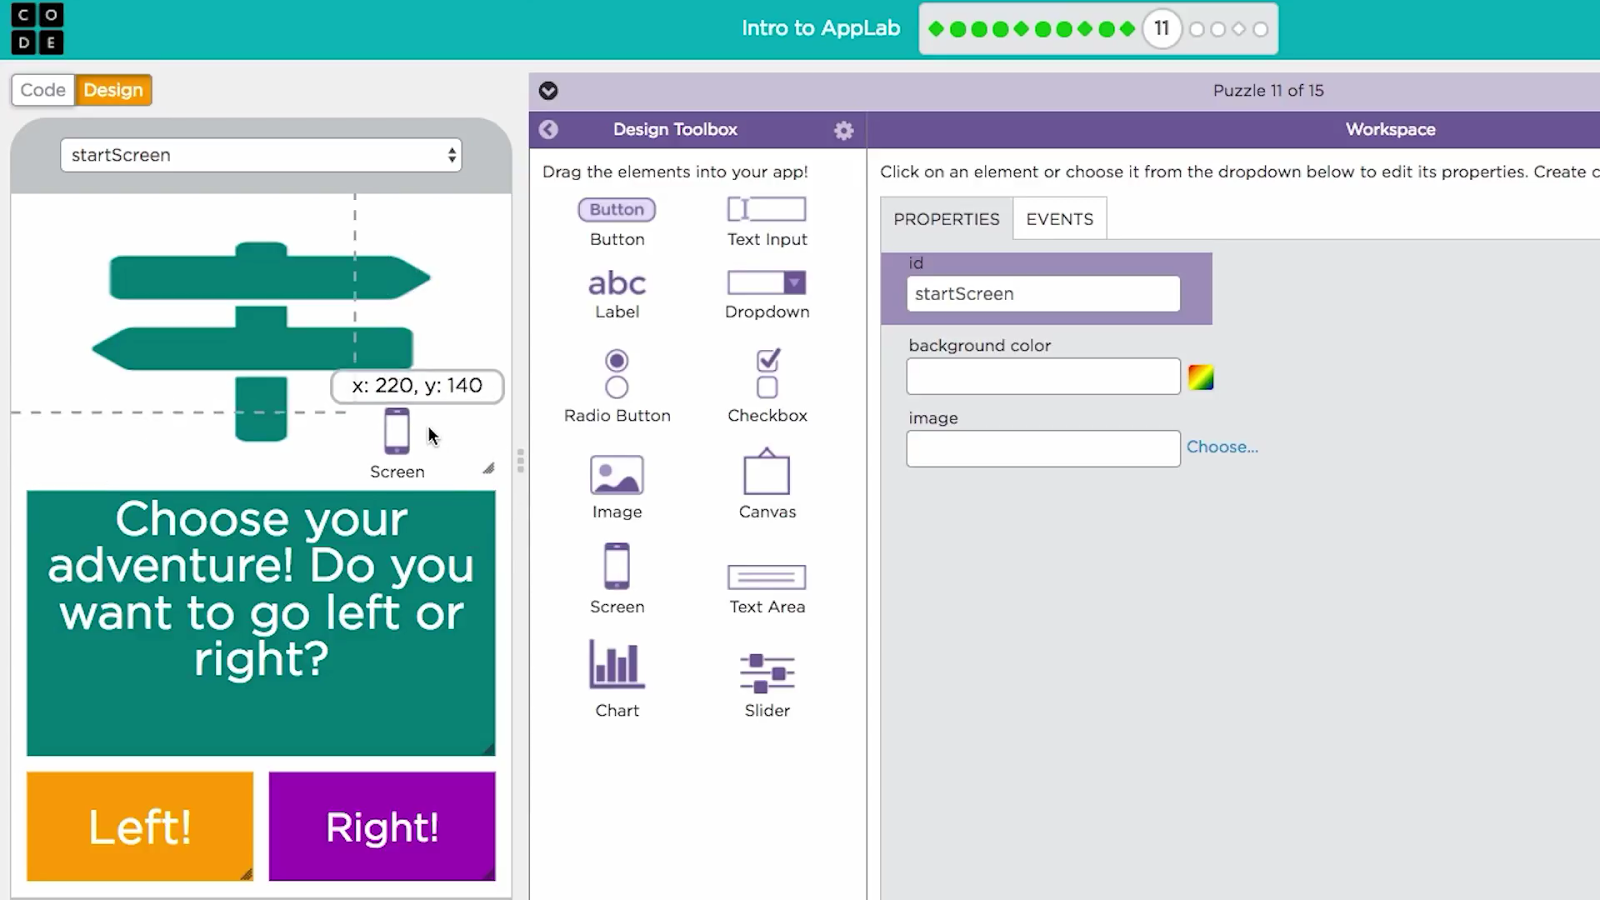
You can add entirely new screens to your app by dragging in a screen element
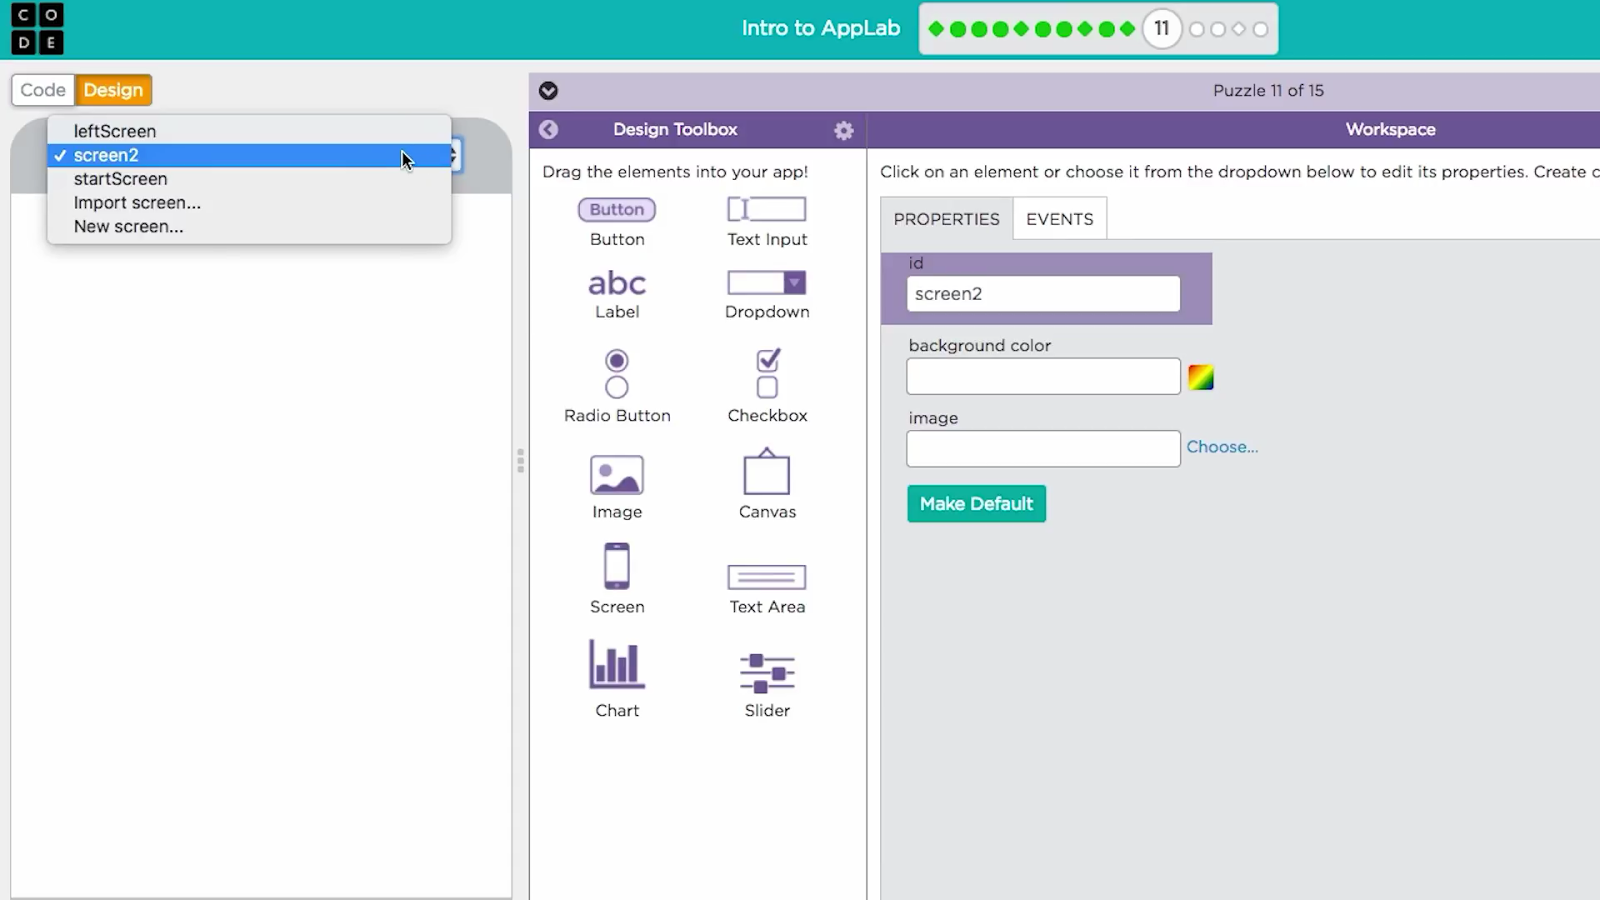
From the drop-down at the top you can quickly switch back and forth between the screens you create.
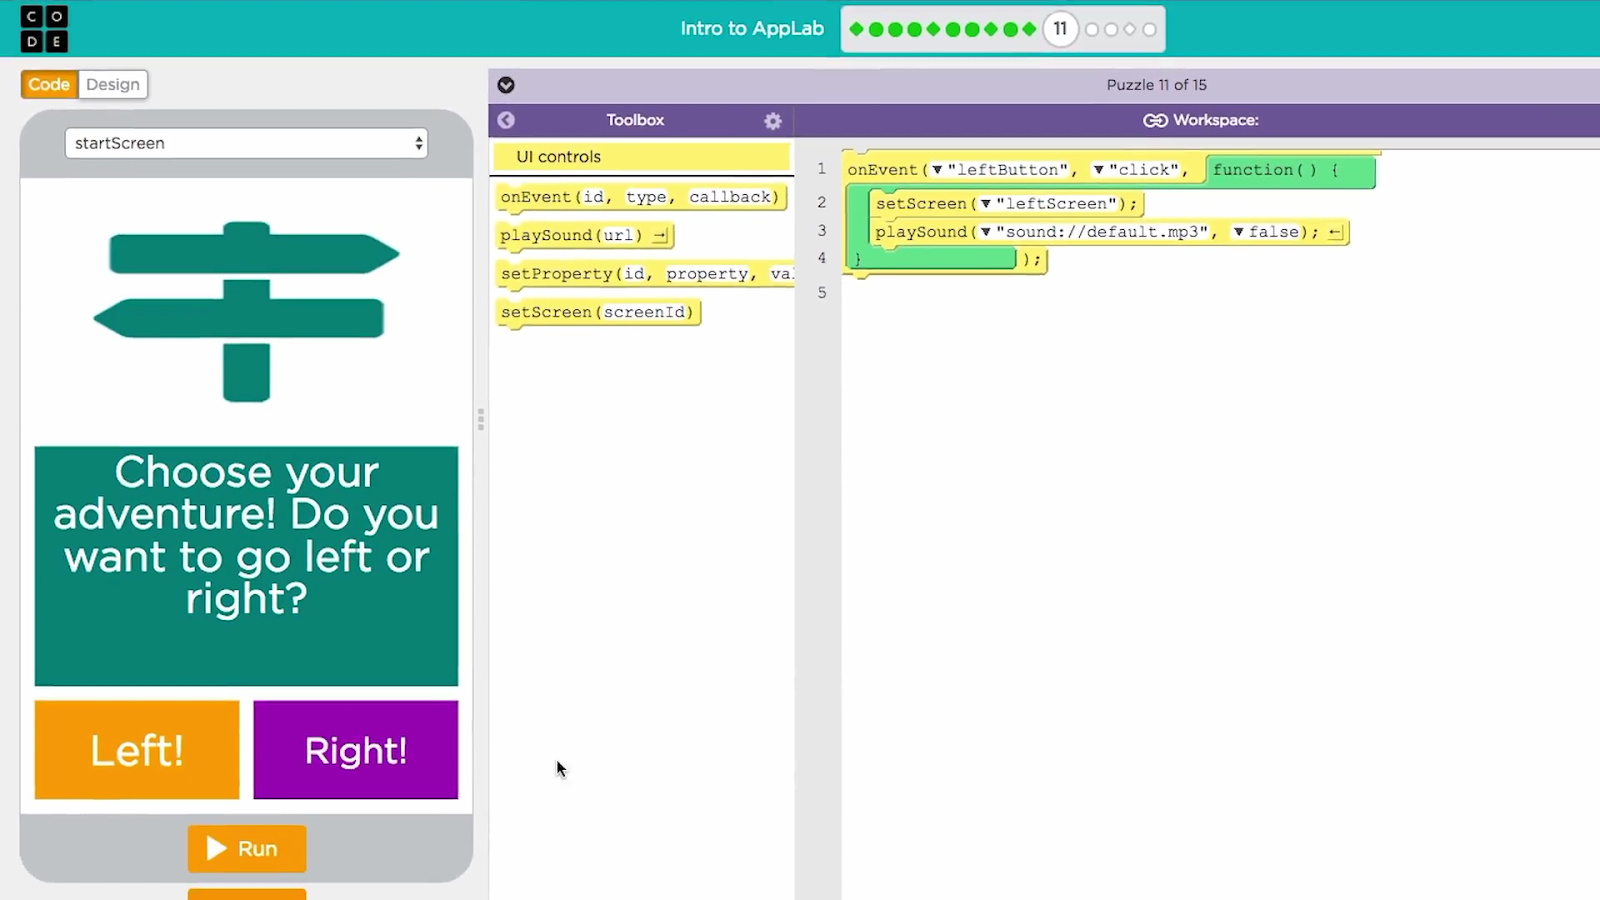
Inside your app, you'll need a way to switch between all of these screens, so the setScreen block has been added to the toolbox. Use "setScreen" inside the "onEvent" block to change screens at the click of a button.

In the next few levels you'll be working on a single project. First you'll add a button then you'll add a new screen and finally you'll write code so that the button switches to the new screen.