Lesson 4: Updating Screen Elements
45 minutes
Overview
Students should already be familiar with programming in App Lab, specifically using Design Mode to create screen elements and using onEvent blocks to create button click events. To expand the kinds of apps that students can make, and to encourage them to think in new ways about how users interact with apps, we introduce the setProperty() and setText() blocks that allow users to change the properties and content of various UI elements. In this lesson students explore how they can use events to update elements on the screen
Question of the Day: How can you update design elements of an app?
Standards
AP - Algorithms & Programming
- 2-AP-13 - Decompose problems and subproblems into parts to facilitate the design, implementation, and review of programs.
- 2-AP-19 - Document programs in order to make them easier to follow, test, and debug.
Agenda
Objectives
Students will be able to:
- Change text on the screen using code
- Respond to user input using event handlers
- Set the properties of UI elements using code
Preparation
- Students do not need devices for this lesson, and we recommend teaching the lesson without devices to avoid distractions
- Check the "Teacher's Lounge" forum for verified teachers to find additional strategies or resources shared by fellow teachers
Links
Heads Up! Please make a copy of any documents you plan to share with students.
For the teachers
- Responding to User Input - Resource
- Updating Screen Elements - Slides
For the students
- Designing Screens with Code - Resource
- Random Numbers - Resource
Introduced Code
Teaching Guide
Warm Up (5 minutes)
UI Element Properties Refresher
Display: Show students this example image
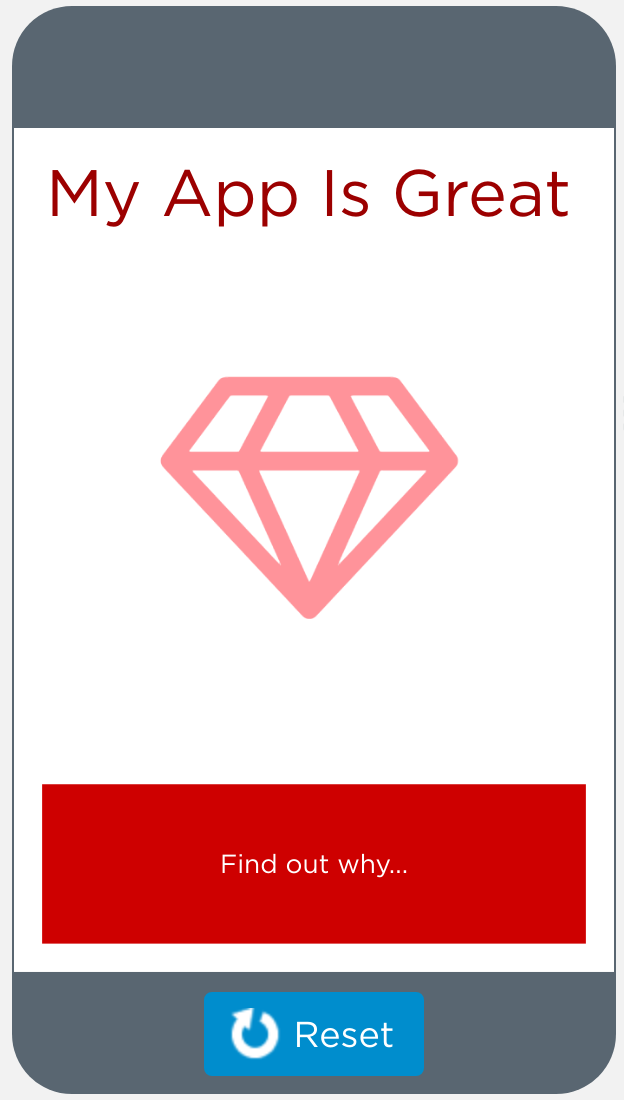
Discuss: How would you describe to somebody else how to recreate this screen? What specific details would they need to know about each design element?
Discussion Goal: The goal of this discussion is to prime students to think about the properties of various design elements, which they will learn to change with code later in this lesson. Students should rely on their previous experiences with Design Mode, and you can use this as a brief refresher on App Lab if needed.
Activity (35 minutes)
Transition: Send students to Code Studio
Guide to Programming Levels: Additional guidance for programming levels is provided in the Guide to Programming Levels. This document includes strategies and best-practices for facilitating programming levels with students.
Discussion Goal: Students are familiar with design mode to set up the user interface of their app, but this level introduces how to change design elements with code. Students can hover over elements to see their IDs and use that to inform their guesses. When they press Run, the code will run slowly and highlight each line as it runs so students can see step-by-step what each line does. This can be helpful when discussing their prediction and matching the result to specific lines of code.
Design Mode Review: If students need a review on Design Mode and Events in App Lab, consider showing students the following videos:
As an ongoing resources for students, consider printing or displaying the following Help and Tip pages for students:
Normalizing Mistakes and Supporting Debugging: As programming levels become more complex, students may find themselves with bugs in their code that they need to untangle. If this happens frequently, this can be a demoralizing experience for students and can affect their self-perception of how capable they are in class.
To counter this, we recommend normalizing bugs and mistakes as something that happens to everyone - it’s just part of the process. You can show students our Debugging Video, which includes several students normalizing mistakes and discussing debugging strategies that students can use. Additionally, consider displaying the Student Guide to Debugging for students to reference throughout the unit and having Bug Report Quarter-Sheets available for students to use.
Formative Assessment: This level can be used as a formative assessment. A rubric is provided in the level, and written feedback can be given to students. Click here to learn more about giving feedback to students.
Wrap Up (5 minutes)
Prompt: Imagine you were creating an app and needed to represent an “error” to the user. Thinking about today’s lesson and yesterday’s lesson, how could we show an “error” to the user on both the screen and micro:bit?
Share Out: Have students share with a partner, then with the class
Discussion Goal: Students should brainstorm a variety of options they can use to represent an error to users. For example:
- Changing the text or background color red
- Having the LEDs light up red or display an "X"
- Scrolling "Error" across the micro:bit
- Changing the text on the screen to say “Error!”

This work is available under a Creative Commons License (CC BY-NC-SA 4.0).
If you are interested in licensing Code.org materials for commercial purposes contact us.